
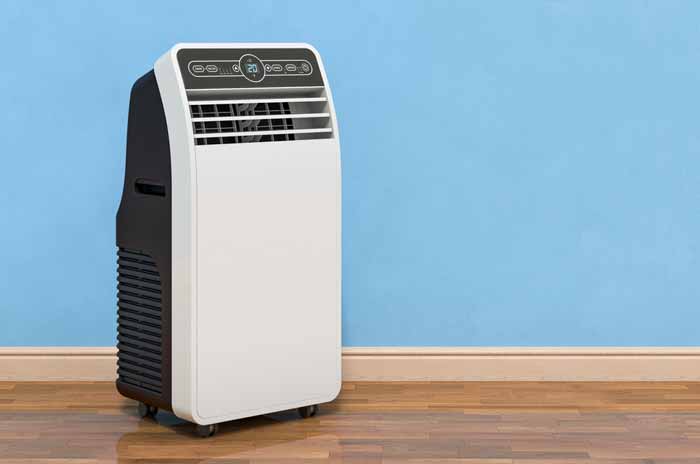
It’s the middle of summer, and you just realized that your portable AC is leaking. You can feel it when you walk into the room, and when you turn on the light at night, there are wet spots on the floor. That means that if something isn’t done soon, mold will start to grow in your home- which would be a costly problem to fix!
What to Do If My Portable Ac Leaks?
Most of the time, when a portable AC starts to leak, it means that your AC needs to be recharged and refilled with Refrigerant. This is something you can do yourself; many people feel intimidated by the process, but it’s straightforward once you know how to go about it.
1. Purchase a can of Refrigerant
Your local hardware store will have most of the supplies you need. This is not an expensive purchase, and one can of Refrigerant lasts for as long as you need it to. And guess what- once your unit is done recharging, you’ll be all set to go!
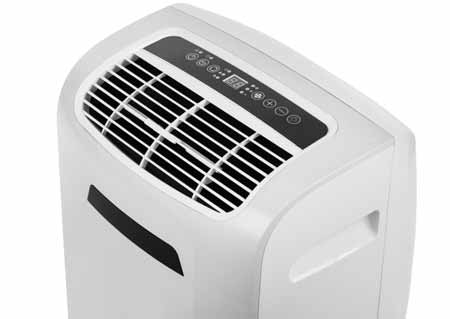
2. Locate the AC’s leak
To do this, you will need to remove the front panel of your portable AC unit. Underneath, there will be a tube that is attached to your unit with a hose clamp. Your refrigerant is cooled in this hose before it becomes cold-air and goes into your unit. In between the hose and the tube is where the Refrigerant leaks out as it becomes warmer. Check that area carefully for any holes or cracks, and then use a marker to mark that area on your AC leak.
3. Refill the AC with Refrigerant

Keep in mind that the process of recharging a unit will take several hours. Make sure you have enough time to let your AC sit so it can recharge itself completely.
Also, add more Refrigerant than what might be missing. This is called overfilling, and it causes no harm; on the contrary, it will help your unit run more efficiently and stay colder longer.
4. Let the Unit Sit
Once you’ve completed the process of recharging your AC, let it sit for at least two hours so that it can reach optimal temperature. Although this seems like a long time, having an AC that runs properly will be worth it.
5. Check for Leaks Again
After your AC has been running for a while, go back and check the house to see any leaks. If you find that there are still any leaks, then immediately shut down your AC to avoid further damage.
6. Put your AC back together
Once you have restored proper refrigerant levels in your unit, reattach any parts removed from the front of your portable AC and put on a new hose clamp to keep any additional leaks out. You’re all done!
7. Enjoy the Cool and Fresh Air!
Once you’ve completed these steps, walk into your home knowing that you have solved the problem of your portable AC leaking. The best part is- now your unit will be running smoothly until summer’s end, so you never have to worry about another leak again! Visit here: https://ipsnews.net/business/2021/06/04/blast-auxiliary-portable-ac-test-neuer-mini-lufter-gestartet/ for getting more details.
Conclusion
I hope this blog has helped you understand the best way to stop your portable AC from leaking. Keep in mind that it’s not worth risking your safety or time and money by continuing to do what you’ve been doing. Invest in a can of Refrigerant and make sure to always read the instructions before using it.